
Getting started
Install BuildPrint, load your first schematic and place the first blocks.
What you need #
- Minecraft 26.2 or 26.3
- Fabric Loader 0.16 or newer
- Fabric API and YACL
- Mod Menu, optional, for the settings screen in the mod list
Install #
- Install Fabric Loader for your Minecraft version.
- Download BuildPrint from Modrinth, and Fabric API and YACL.
- Put the files in the
modsfolder of your Minecraft folder. - Start the game. The same BuildPrint file works on 26.2 and 26.3.
With the Modrinth app or another launcher that reads Modrinth, installing BuildPrint pulls in Fabric API and YACL for you.
The first start #
The first time you join a world, a short setup asks whether you want easy place, easy destroy and angel placement on. If you used Litematica before, it also offers to bring over your placements. You can change all of it later in the settings.
Load a schematic #
- Press M to open the menu.
- In the Local tab, pick a file and click Load. No files yet? Drop one onto the game window, or open the Marketplace tab and click Place on a build.
- The build appears as a ghost where you stand. Use the Loaded tab to move or turn it. See Moving and aligning.
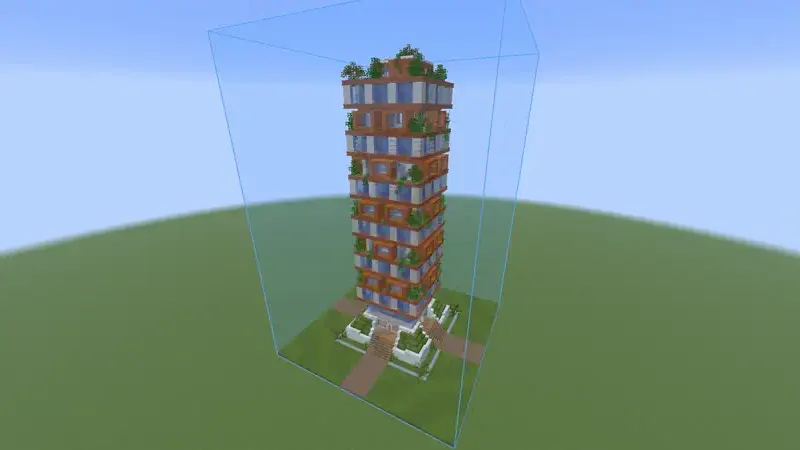
Build it #
- Place blocks by hand on the ghost. The colors show what is wrong.
- Open Materials in the Loaded tab to see what you need. See Material list.
- Press N for Easy place and right-click the ghost to place the right block.
- Use the Layer view to work through the build one layer at a time.
Something missing or wrong on this page? Say so on Discord.